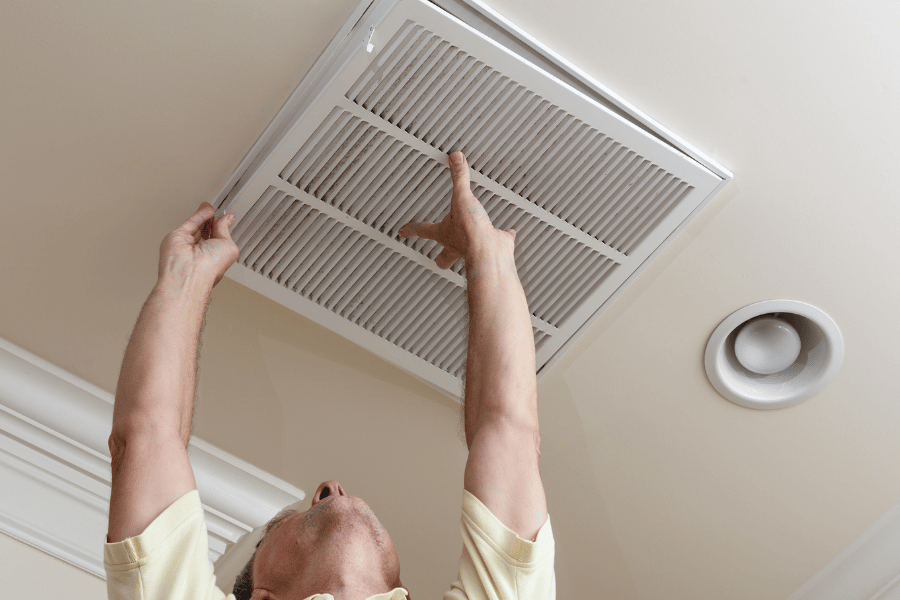
Keeping your HVAC system running efficiently begins with a simple, often-overlooked task: checking your filters. HVAC filters are crucial in maintaining air quality, ensuring energy efficiency, and prolonging your system’s lifespan.
If you’re wondering how to inspect and replace these filters, here’s a step-by-step guide to help keep your system in peak condition.

Why Check Your HVAC Filters?
Before diving into the “how,” let’s start with the “why.” Your HVAC filters trap dust, pollen, and other particles, preventing them from circulating throughout your home. Dirty or clogged filters restrict airflow, causing your HVAC system to work harder.
This not only strains the system, reducing its efficiency and lifespan, but also increases energy bills. Clean filters mean clean air, efficient performance, and a longer-lasting system.
Step 1: Locate Your HVAC Filter
Your HVAC filter is usually located in one of three areas:
- Air Return Vent: Many HVAC systems place the filter behind the return air vent. This large vent, often on a wall or ceiling, pulls air from the home into the system.
- Blower Compartment: In other systems, the filter is in or near the air handler or furnace compartment. This is typically found in basements, attics, or utility closets.
- AC or Furnace Unit: Some units house the filter directly behind an access panel on the HVAC unit itself.
The exact location will vary based on your system’s make and model, so check your owner’s manual if you’re unsure.
Step 2: Turn Off Your HVAC System
Safety first: Always turn off your HVAC system before handling any parts. For added safety, you can switch off the thermostat or flip the breaker. This also prevents the system from pulling in unfiltered air while the filter is out.
Step 3: Remove the Filter
Carefully remove the filter from its slot or holder. Most filters slide out easily, but in some cases, you may need to undo clips or fasteners. Note the orientation of the filter (airflow direction), which is often indicated by arrows on the filter frame. This ensures the new or cleaned filter goes in the right way.
Step 4: Inspect the Filter’s Condition
Take a close look at the filter:
- Color: A clean filter is typically white or light-colored. If the filter looks gray or dark, it’s time to replace or clean it.
- Dust Buildup: If your filter has a thick layer of dust, dirt, or debris, it is likely overdue for replacement.
- Airflow Test: Hold the filter up to a light source. If you can’t see light through the filter material, it’s too clogged to be effective.
If you’re unsure whether the filter needs replacing, check the manufacturer’s instructions or use the general rule of thumb to replace it every 1-3 months. Homes with pets, smokers, or allergy sufferers may require more frequent filter checks and replacements.
Step 5: Replace or Clean the Filter
There are two main types of HVAC filters: disposable and washable.
- Disposable Filters: These are designed for single use and should be replaced with a new filter when dirty. Be sure to buy the correct size and type. Most HVAC filters have dimensions marked on the frame, such as 16x20x1.
- Washable Filters: Some filters can be cleaned instead of replaced. If you have a washable filter, take it outside and rinse it gently with a hose. Avoid using high-pressure sprays, as these can damage the filter material. Allow the filter to dry completely before reinserting it. A wet filter invites mold growth, which can harm both the HVAC system and your indoor air quality.
Step 6: Reinsert the Filter
Once your filter is clean or you have a new one, place it back in the holder with the arrows pointing in the correct direction. Proper orientation is essential for airflow and filtration. Slide it securely into place, ensuring it’s sealed around the edges to prevent air from bypassing the filter.
Step 7: Turn the System Back On
With the filter back in place, you can turn on your HVAC system. Listen for any unusual sounds and check for proper airflow from the vents. If everything seems normal, you’ve successfully completed your filter check!
Setting a Reminder
Regularly checking your filter is essential for optimal HVAC performance. Set a reminder on your phone or calendar to inspect it every month, especially during high-use seasons like summer and winter.
This simple habit can help you avoid costly repairs, improve your home’s air quality, and keep your system running smoothly year-round.
Final Thoughts
Checking and changing your HVAC filter is one of the easiest yet most effective ways to maintain your HVAC system. With regular filter checks, you’ll enjoy cleaner air, lower energy bills, and a more efficient system. Remember, your HVAC is a valuable investment that supports comfort, so don’t neglect this small but mighty component!
